
sitemap: false
Why I built this instead of relying on another plugin
A while ago, I was working on a WordPress site with more than 4,000 images in the media library. Most of them were old JPEG and PNG files, and many were much heavier than they needed to be. When I tested the site in PageSpeed Insights, the result was not great. The score was sitting around the low 30s, and the image recommendations were mostly pointing to one thing: serve images in a next-gen format.
I checked a few popular plugins, but most of them came with a subscription model or required the images to be processed through an external cloud service. That did not feel right for this project. I wanted a tool that could run directly on the server, keep the workflow simple, and avoid adding another monthly cost.
The other issue was control. Some image optimisation tools can be too aggressive. They rewrite database values, remove original files, or make changes that are hard to reverse when something goes wrong. I have seen websites break because an optimisation process failed halfway through. So my main rule was simple: keep the original files untouched and only serve the WebP version when it exists and works properly.
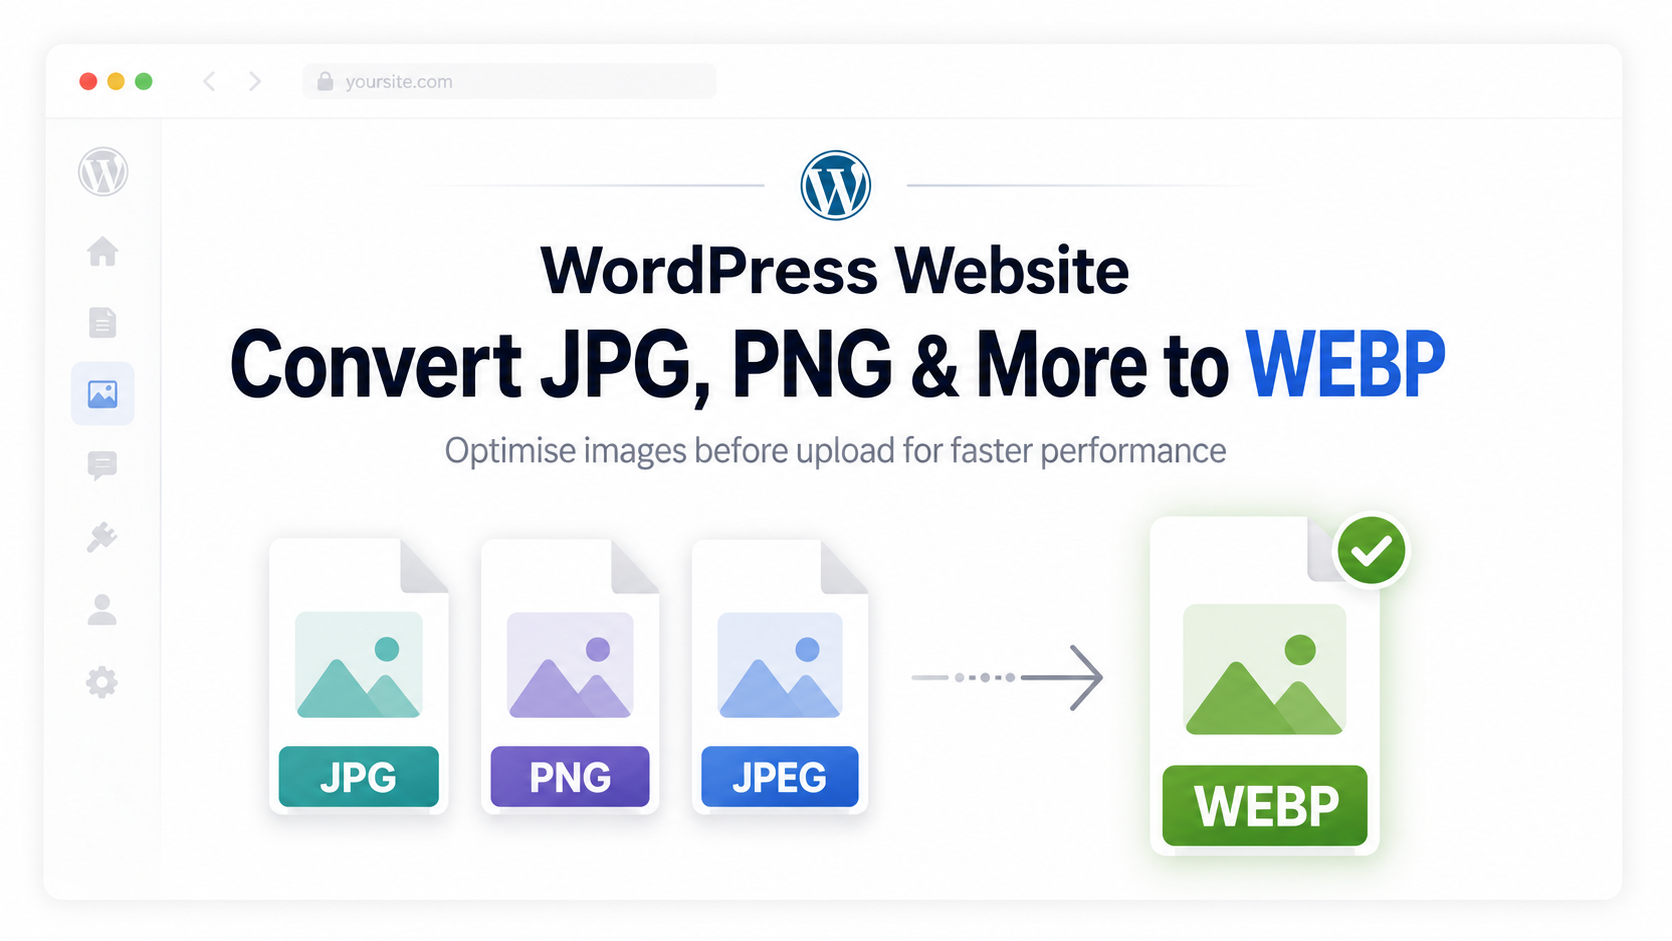
That is how the idea for Effortless WebP Converter started. It became a dashboard-based WordPress tool that scans the media library, converts images in small batches, and uses WordPress filters to serve the WebP version on the front end. The goal was not to build a huge optimisation suite. I wanted something lightweight, predictable, and safe enough to use on real client sites.
The project is available on GitHub for anyone who wants to review the code, test it, or improve it further: Explore the Effortless WebP Converter source code.
The timeout problem that shaped the whole workflow
The hardest part was not the WebP conversion itself. The real problem was server limits. Most shared hosting environments do not allow long-running PHP scripts. If a process takes more than 30 or 60 seconds, the server usually stops it.
That becomes a serious issue when you are trying to process thousands of images. If you try to convert everything in one request, the process will fail quickly. I tested that approach early on, and it was clear that increasing memory limits or execution time was not a reliable answer. On client hosting, you often do not control those settings.
So I built the conversion process around small batches. The admin dashboard sends a request to the server, the server processes a few images, saves the progress, and then the dashboard sends the next request. This keeps each request short and reduces the chance of a timeout.
The useful part is that the process can continue from where it stopped. If the browser tab closes, the internet drops, or the server pauses for a moment, the plugin still knows which images are pending. That required a clean state system using the WordPress Options API, but it made the whole workflow much more dependable.
How the plugin is structured
The plugin is built around a simple structure. There is a main loader file, a core class that handles the main logic, and a small set of admin assets for the dashboard interface. I kept the JavaScript plain and avoided build tools because this plugin did not need extra complexity.
The main class uses a singleton pattern so the hooks are managed from one place. That keeps the code easier to follow and prevents filters or actions from being registered more than once. For a small WordPress utility plugin, that approach works well.
For image conversion, the plugin checks the server environment first. It looks for Imagick, then falls back to GD when Imagick is not available. Imagick usually gives better results, but GD is available on many hosting setups. If neither extension exists, the plugin does not try to force anything. It simply shows that the server cannot handle the conversion.
The conversion logic
public function ajax_convert_batch(): void {
    check_ajax_referer('webp_migrator_admin', 'nonce');

    $state = $this->get_state();
    $batch_size = 5;
    $attachments = array_slice($state['pending'], 0, $batch_size);

    foreach ($attachments as $attachment_id) {
        $this->process_attachment($attachment_id);
    }

    // Update the stored state and return the batch response.
}
This is the basic idea behind the batching system. The plugin takes the pending attachment IDs, processes a small group, updates the saved state, and returns a response to the dashboard. It is not fancy, but it is stable. On lower-end hosting, that matters more than trying to process too much at once.
Serving WebP images without breaking the front end
Creating the WebP files is only part of the job. The site also needs to serve those files to visitors without breaking existing images. I did not want to depend on .htaccess rules because they can be difficult to debug, especially across different hosting environments.
Instead, I used WordPress filters. The plugin works with common image output points such as wp_get_attachment_url, wp_calculate_image_srcset, and the_content. This gives the plugin a safer way to replace image URLs only when a WebP version is available.
The srcset handling needed extra care. Responsive images in WordPress can include several URLs and width values in one attribute. If that string is changed incorrectly, the browser can ignore it or load the wrong image. So the plugin checks each possible replacement carefully before changing the output.
For images inside post content, the plugin uses a straightforward replacement approach. It is lighter than parsing the whole HTML document and works well for common WordPress content output. The priority is set so the filter runs after most content changes, but before the final markup reaches the browser.
How the URL filter works
public function filter_attachment_url($url, $post_id) {
    if (is_admin()) {
        return $url;
    }

    $webp_url = str_replace(['.jpg', '.jpeg', '.png'], '.webp', $url);
    $path = str_replace(content_url(), WP_CONTENT_DIR, $webp_url);

    if (file_exists($path)) {
        return $webp_url;
    }

    return $url;
}
This is the safety check that makes the plugin reliable. It only changes the image URL when the matching WebP file exists on the server. If the WebP file is missing or the conversion failed for that image, the original file stays in place. The visitor never sees a broken image because the plugin always has a fallback.
What I chose not to add
I kept the first version focused. One thing I did not include was automatic CSS background image replacement. Finding and replacing background images inside CSS files can get messy very quickly. Themes and builders handle those images in different ways, and parsing CSS through PHP would add more risk than value for this version.
I also skipped WP-CLI support for the first release. I know it would be useful for developers, but the main goal was to create a dashboard-first workflow. Most clients and site owners are more comfortable running a tool from the WordPress admin area than using the command line.
I also decided not to delete original images. Some tools offer that feature to save disk space, but I do not think it is worth the risk by default. Storage is usually cheaper than losing an original file that cannot be recovered later.
The interface is intentionally simple as well. It uses familiar WordPress admin styling instead of a heavy custom UI. I spent more time making the conversion logic safe than making the dashboard look overly polished. For this kind of plugin, that felt like the right tradeoff.
Who this plugin is useful for
This plugin is useful for WordPress sites that need better image performance without adding a heavy optimisation service. It is especially helpful for older websites with large media libraries full of JPEG and PNG files.
- Site owners who want to convert existing media library images to WebP.
- Developers who want a transparent server-side tool without cloud processing.
- WordPress users on hosting environments where rewrite rules are not easy to manage.
- Anyone who wants to keep original files as a safety backup.
It is not trying to replace every image optimisation platform. It is built for a specific job: scan the media library, create WebP versions, and serve them safely when they are available.
How to install and use it
The setup is standard for a WordPress plugin. There are no API keys, external accounts, or subscription settings. The server only needs PHP 7.4 or higher with either GD or Imagick enabled.
You can download the plugin directly from the release file here: Download the Effortless WebP Converter plugin.
- Download the plugin ZIP file from the release link.
- Open your WordPress dashboard and go to Plugins.
- Click Add New, then Upload Plugin.
- Upload the effortless-webp-converter.zip file.
- Activate the plugin after installation.
- Go to Tools and open the Effortless WebP Converter screen.
- Click Scan Library to find JPEG and PNG images in the media library.
- Start the conversion and keep the browser tab open while the batches run.
- Check the front end in an incognito window to confirm that WebP images are loading.
After conversion, I usually test the homepage, a blog post, and any page with large visual sections. Opening an image in a new tab is a quick way to confirm whether the WebP version is being served. Once everything looks right, the plugin continues handling the URL replacement automatically.
What I learned while building it
This project reminded me how useful a focused tool can be. The plugin does not need a complex framework or an external API to solve the problem. It only needs a reliable way to scan files, convert them safely, track progress, and avoid breaking the existing media library.
The most important work was in the edge cases. Some files had unusual names. Some servers had permission issues. Some images failed conversion. The plugin had to handle those problems quietly without damaging the site.
Seeing the process reach 100 percent and then watching the site serve lighter image files felt like a proper win. It is a small improvement on the surface, but those small improvements add up fast when you care about performance, user experience, and clean WordPress development.